- Getting Started
- Sign Up
- Workflow Overview
- Glossary
- Connect with WordPress
- Connect Web Apps
- Workflows
- Triggers
- Actions
- Edit Workflows
- Types of Trigger Data
- Data Mapping
- Test Action
- Workflow History
- Auto-replay Failed Steps
- Update/Delete Connections
- Webhook URL Update
- Ensuring a Seamless WordPress Connection with OttoKit
- How to Disconnect OttoKit from WordPress
- How to Delete a WordPress Connection in OttoKit
- How to Generate a Random Number in OttoKit
- Automatically Add WooCommerce Orders to Google Sheets
- Create ClickUp Tasks from Slack Messages
- Automatically Respond to Form Submissions
- Workflow Tools
- Automatically Add WooCommerce Orders to Google Sheets
- Add SureCart Orders to Google Sheets
- Send Elementor Pro Form Submissions to Google Sheets
- Send Gmail Notifications When WordPress Posts Are Created
- Send WooCommerce Order Confirmations to Gmail Automatically
- Send SureCart Order Data to Brevo
- Prerequisites
- Building an Integration
- Setting Up Authentication
- Setting Up Triggers & Actions
- Publishing Integration
- How To Authenticate Your Application Using The API Key Method
- How to Set-Up the Integration Based on Auth Type Bearer Token
- How To Authenticate Your Application Using OAuth 2.0
- How To Authenticate Your Application Using Basic Auth
- How To Authenticate Your Application Using The JWT Bearer Method
Automatically Add WooCommerce Orders to Google Sheets
Managing order data across different tools can quickly become time-consuming, especially as your store grows.
Fortunately, automation tools like OttoKit allow you to connect your applications and streamline repetitive tasks without manual effort.
In this guide, we’ll walk through how to connect WooCommerce with Google Sheets and automatically add a new row to a spreadsheet whenever an order is created in WooCommerce.
By setting up this automation, you can keep your order records organized, accessible, and up to date in real time—without copying and pasting data.
Whether you’re a store owner, operations manager, or part of an accounting or fulfillment team, this step-by-step guide will help you simplify order tracking and improve efficiency.
Let’s get started!
Imagine This Scenario
Imagine you run an online store powered by WooCommerce.
Every time a customer places an order, your team needs to record key details—such as order ID, customer name, total amount, and order date—into a Google Sheet for reporting, fulfillment, or accounting purposes.
Manually doing this for every order means:
- Logging into WooCommerce
- Opening the order
- Copying details
- Pasting them into a spreadsheet
Repeating these steps for every order can be tedious, time-consuming, and prone to errors—especially when order volume increases.
Because of this, updates are often delayed, data can be missed, or reports become outdated.
The Solution with OttoKit
With OttoKit, you can create a workflow that automatically adds a new row to Google Sheets whenever a WooCommerce order is created.
This means:
- No manual data entry
- Always-updated order records
- More time for your team to focus on growth and customer experience
Once set up, OttoKit takes care of syncing your order data seamlessly—so you don’t have to.
Let’s walk through how to set this up step by step.
- Go to the OttoKit Dashboard.
- Click on Workflow, as shown below-
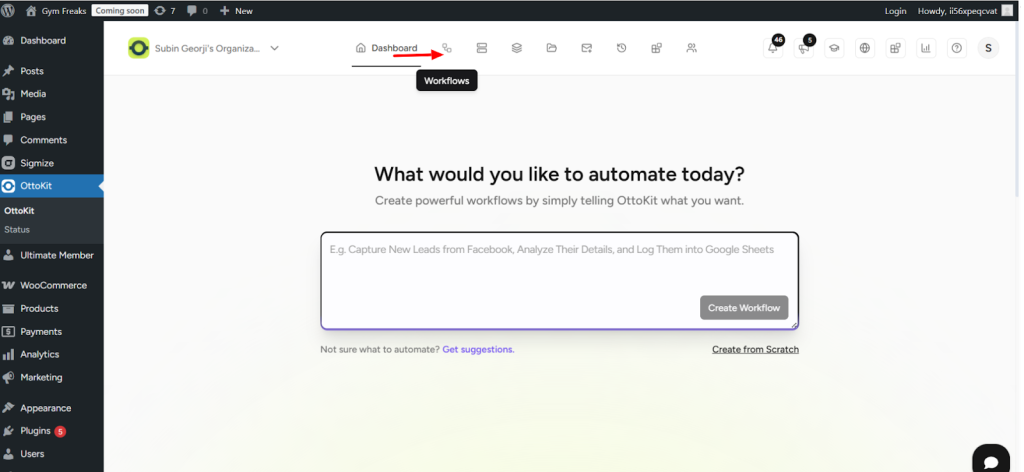
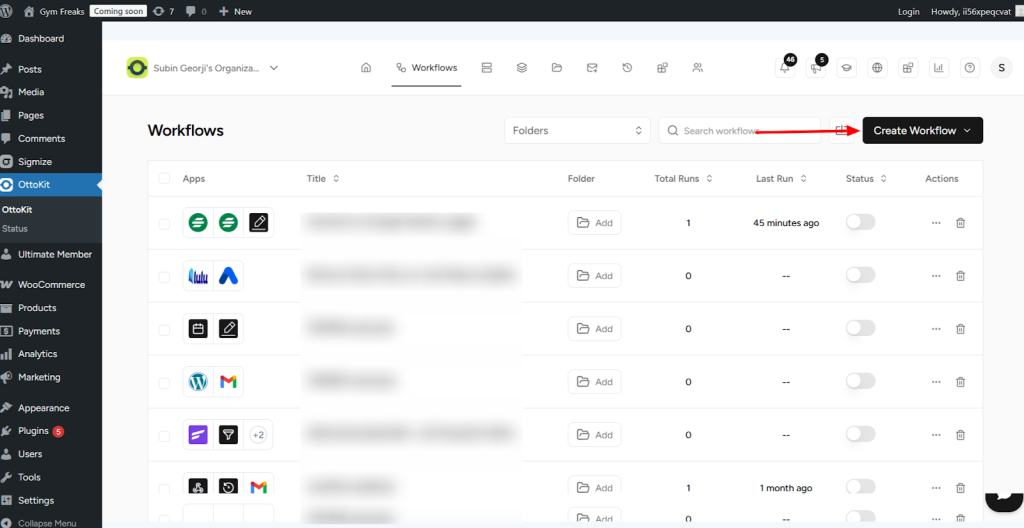
- Now, click on the Create Workflow button.
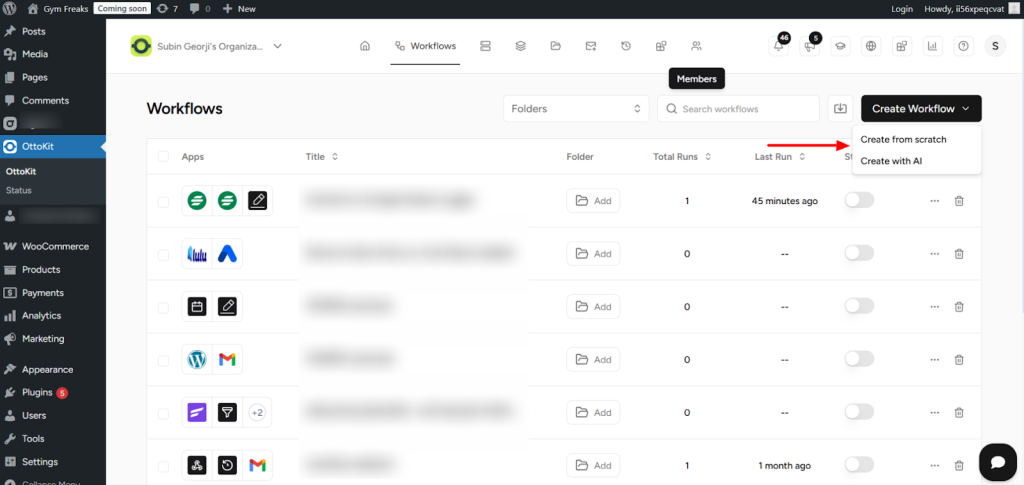
- From the dropdown, select Create from Scratch.
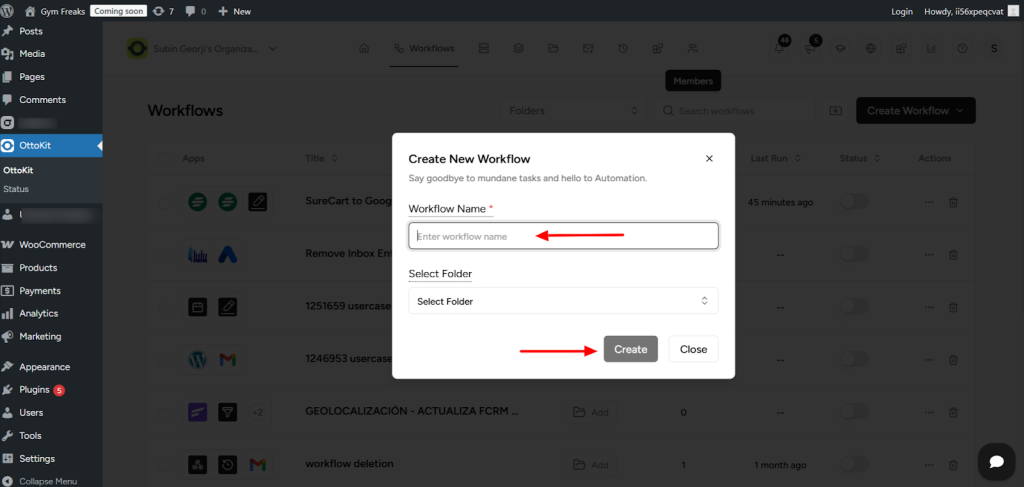
- Enter a name for your workflow and click Create.
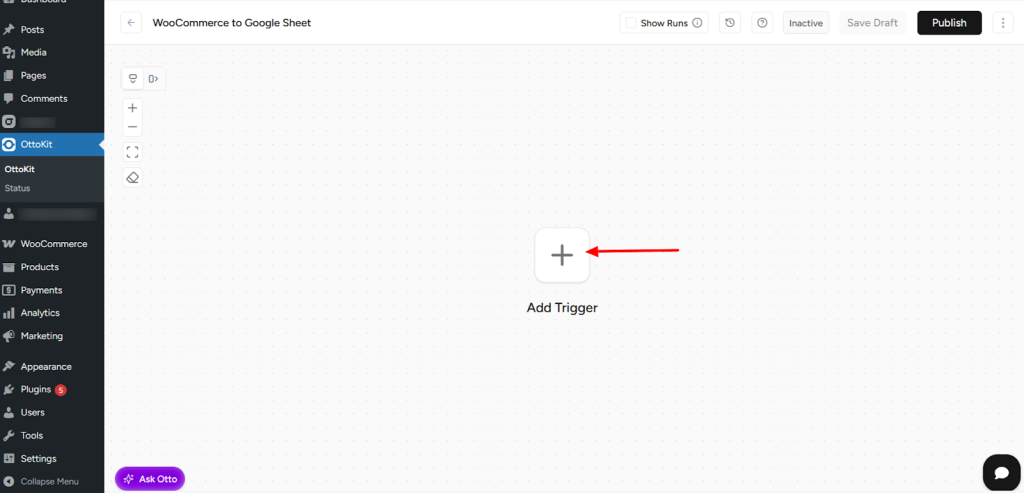
- Next, click on the plus (+) button to add a trigger step.
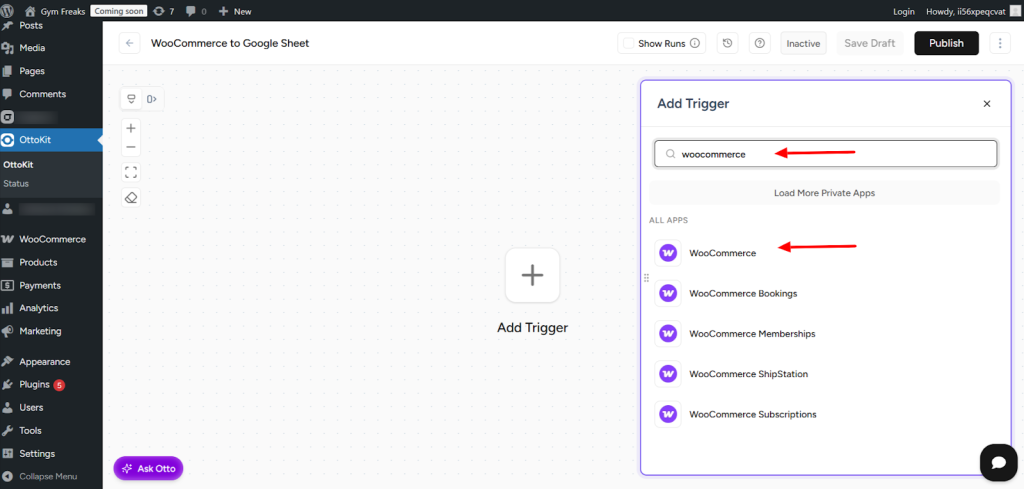
- In the apps search field, type WooCommerce and select WooCommerce as the trigger app.
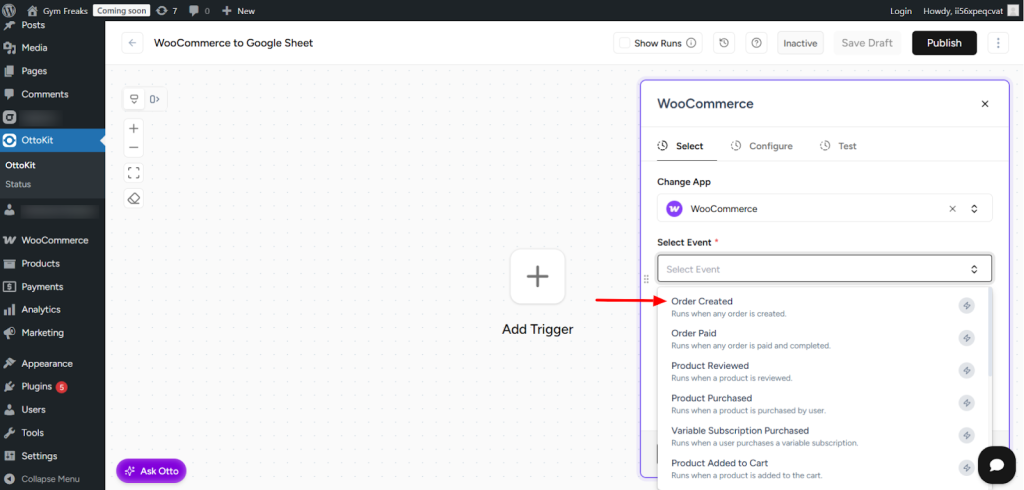
- Choose Order Created as the trigger action.
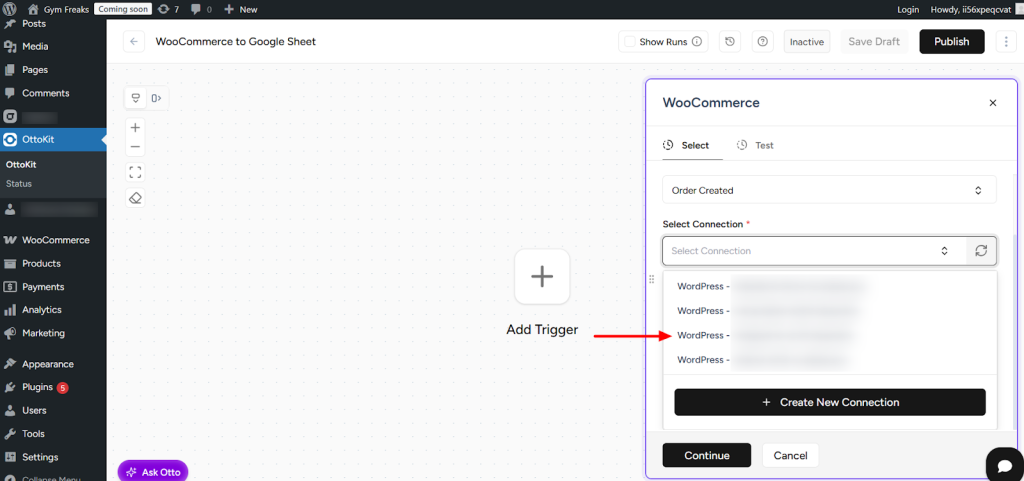
- Click on Select Connection, then choose the WordPress site you want to connect from the dropdown and click Continue.
- Now, click on Fetch Data.
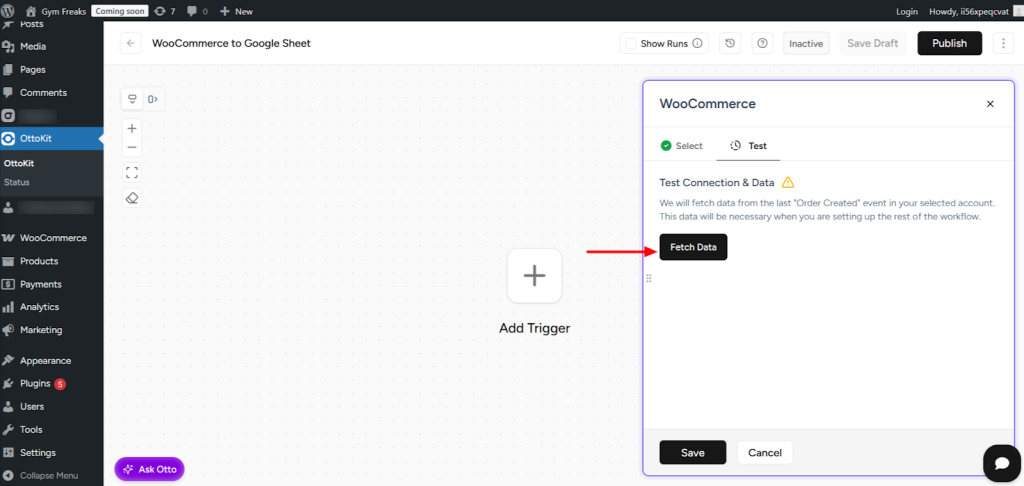
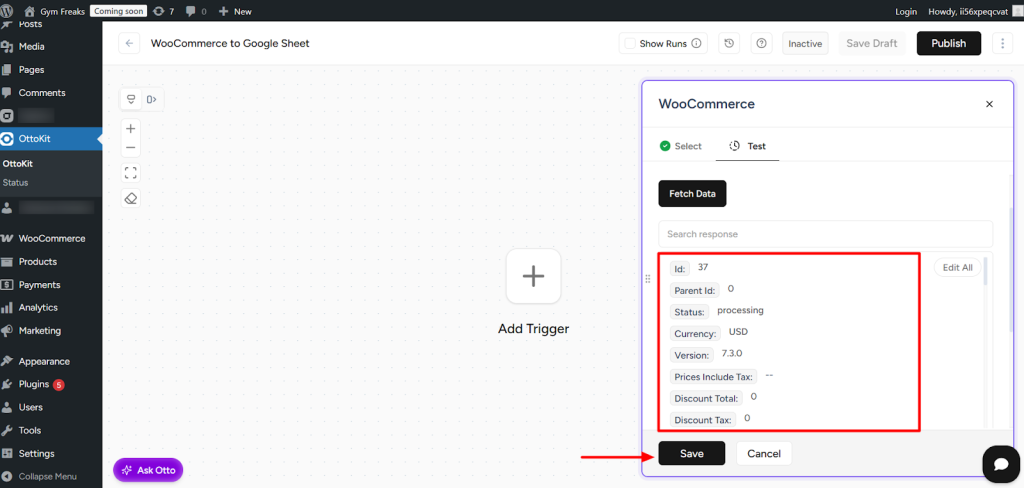
- OttoKit will automatically fetch recent order data from your WooCommerce store (no test order is required). Once the data is fetched, click Save.
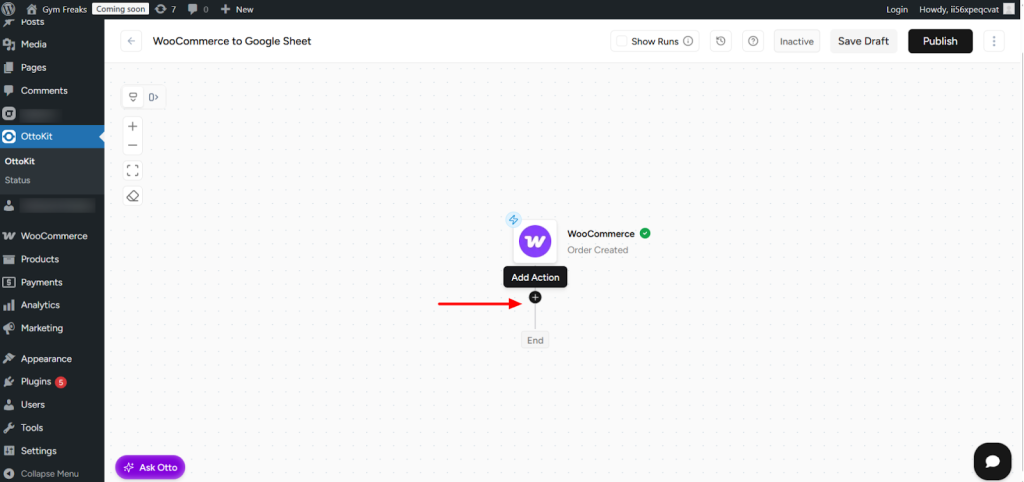
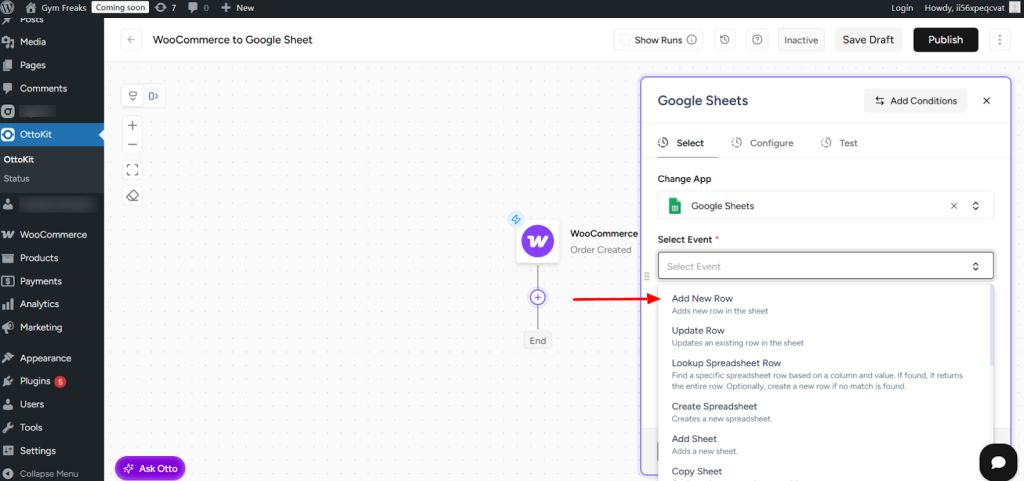
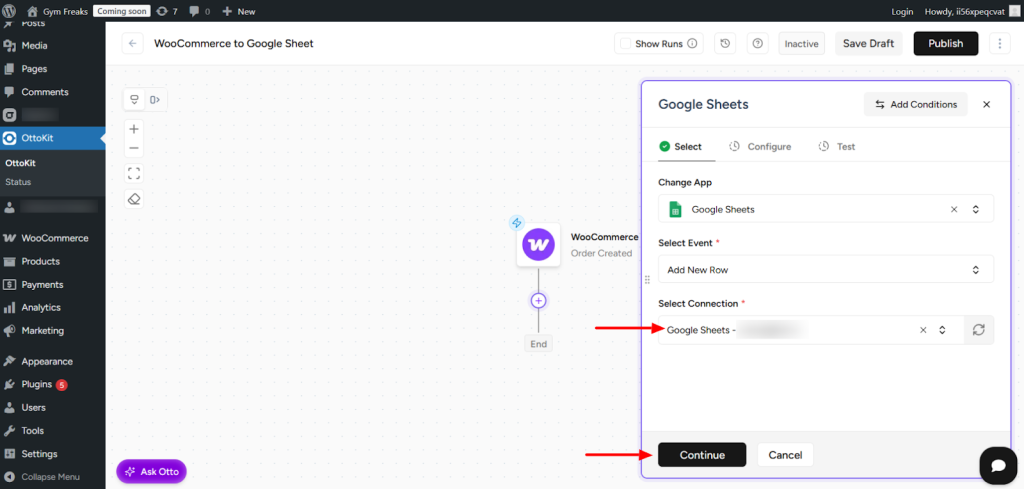
- Next, click on the plus (+) button, and in the search box, select Google Sheets.
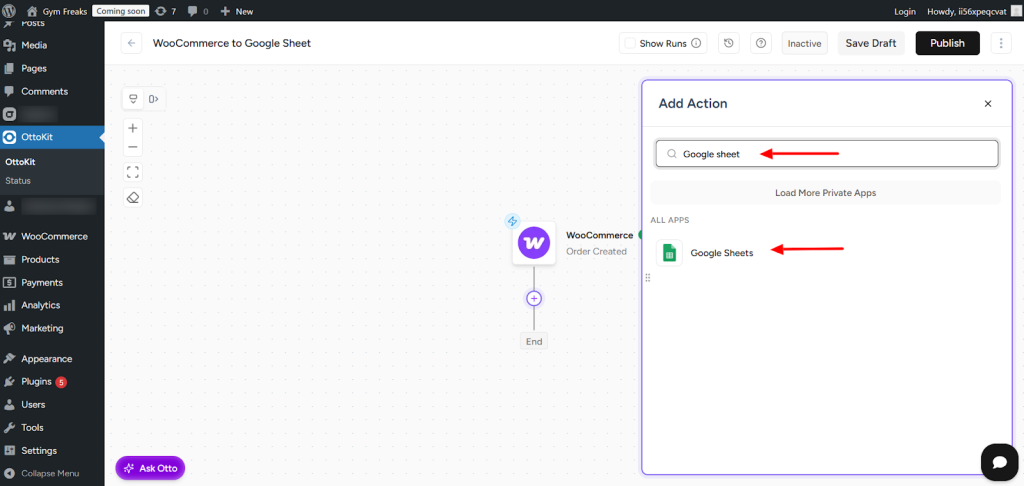
- Choose Add New Rows as the Google Sheets action.
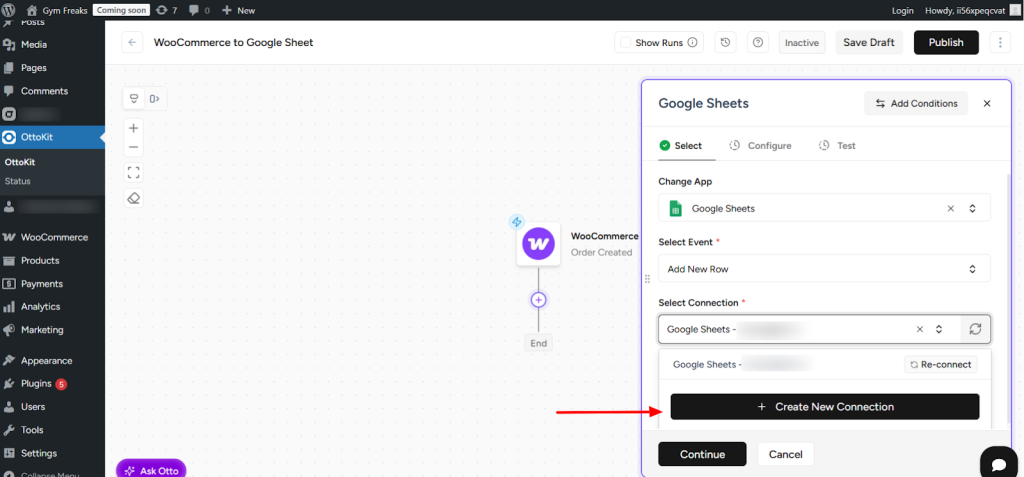
- Click on Create New Connection.
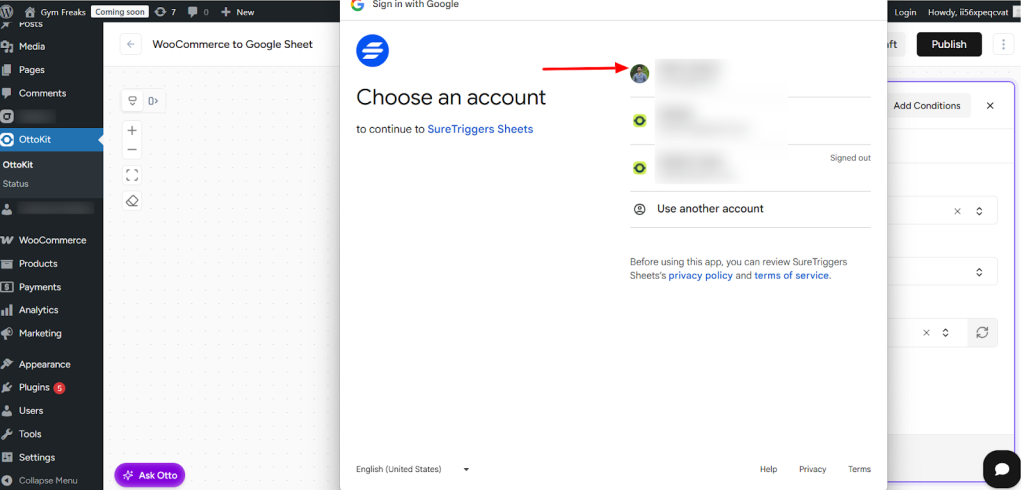
- A popup will appear asking you to select the email address to connect Google Sheets. Choose the appropriate email and continue.
- Click Continue.
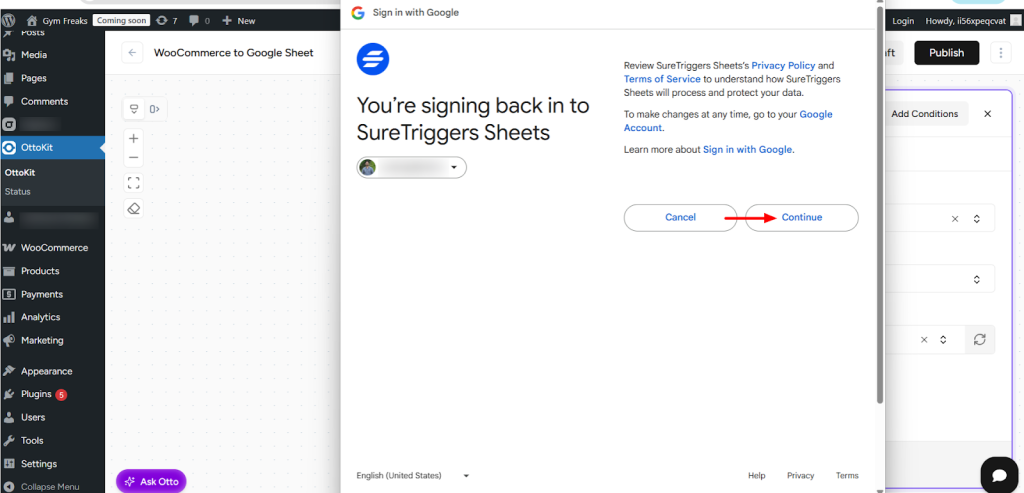
- Click Continue again.
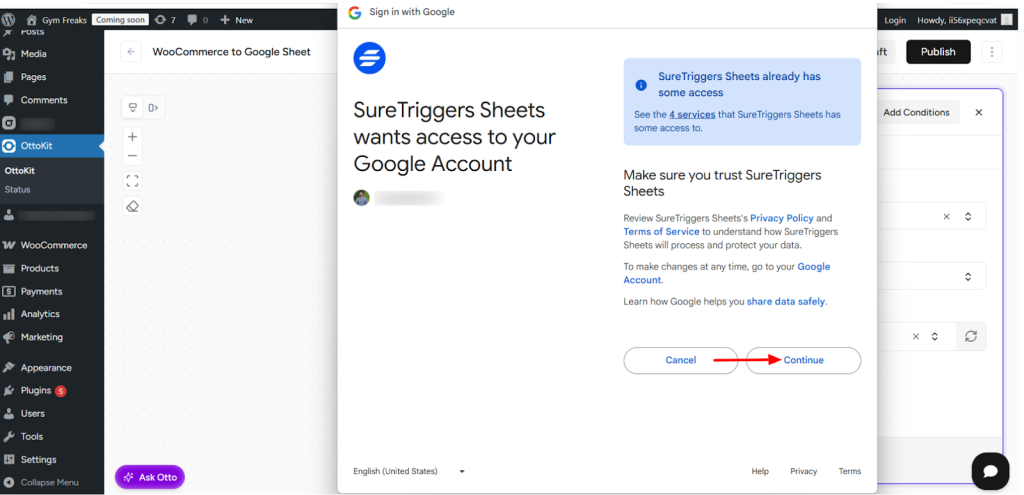
- The connection will now be created. Click Continue to proceed.
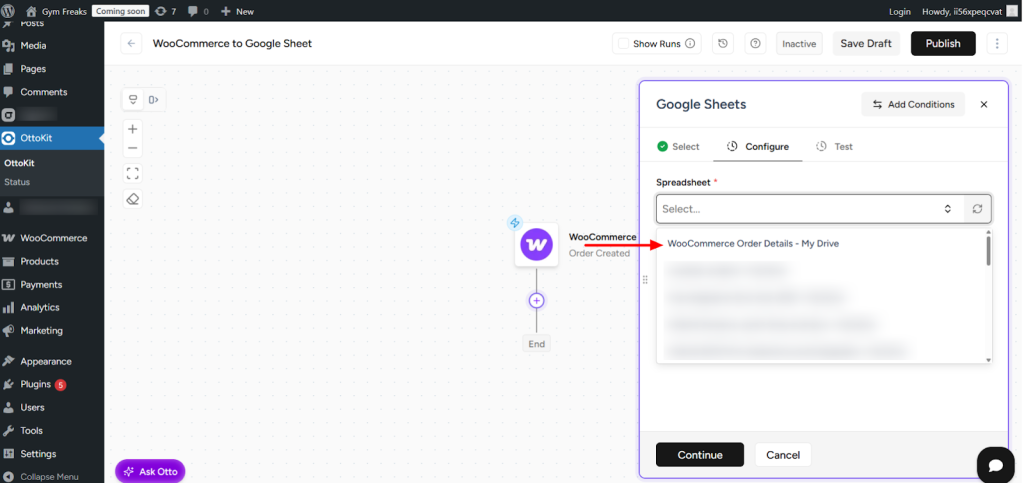
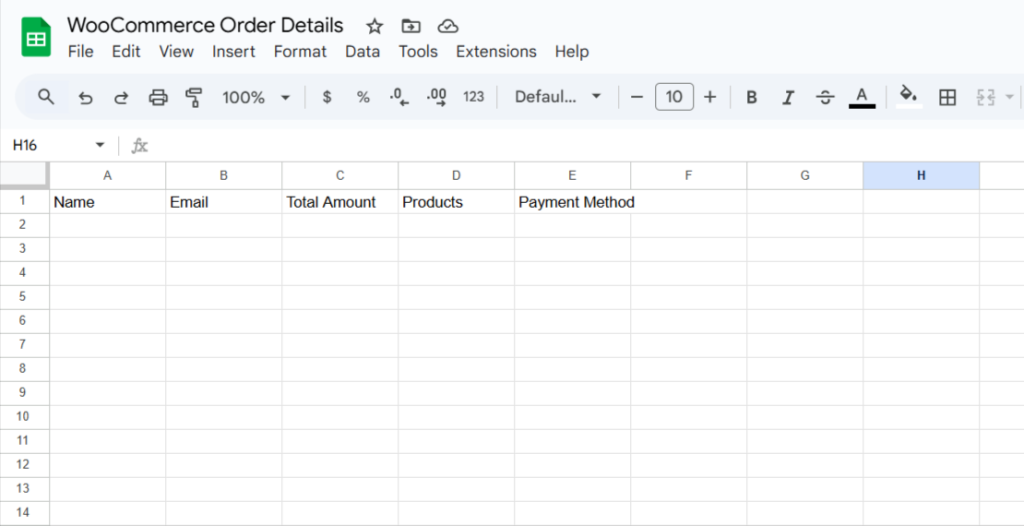
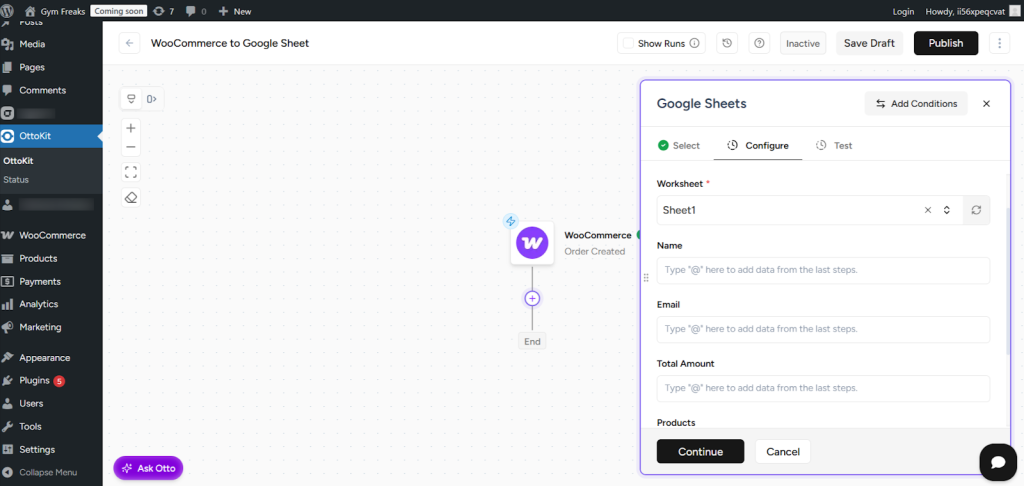
- Select the Spreadsheet name from the dropdown.
- Next, select the Sheet name.
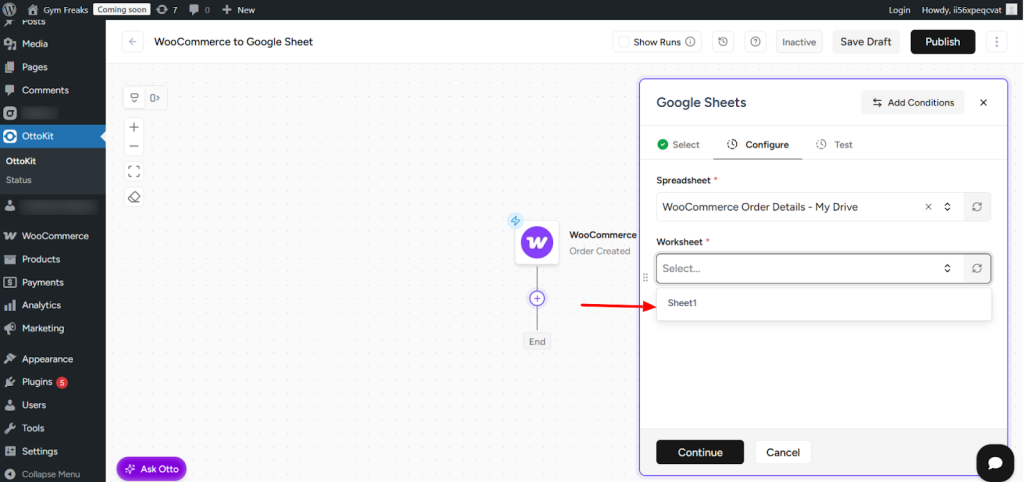
- This is the Google Sheet where you have already added column headers. These headers will be used for mapping data in the workflow.
- You will now see all the Google Sheet headers displayed in the action step. Here, you need to map data from the WooCommerce response.
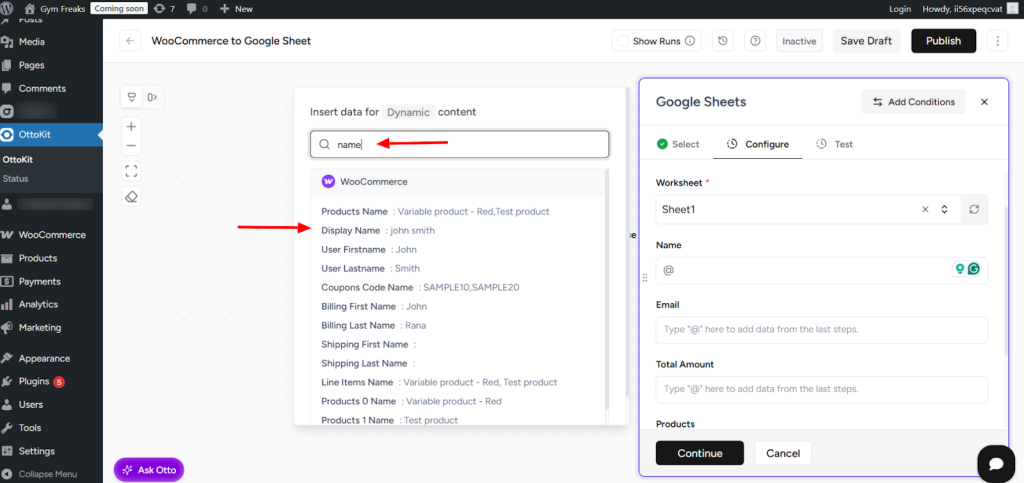
- In the Name field, type @. Do the same for the other fields. A popup will appear showing dynamic fields from the WooCommerce response.

- You can search using a keyword and select the appropriate response field to map it to the column.
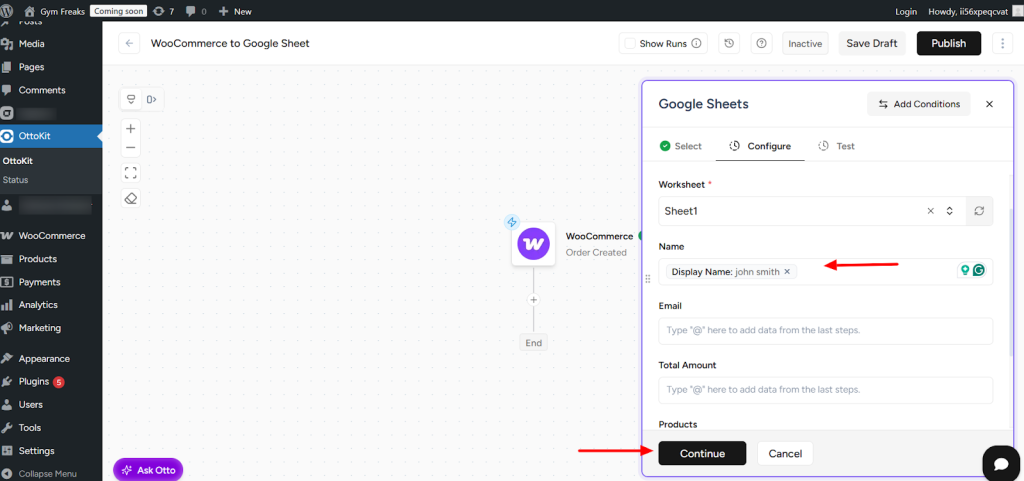
- The selected value will be added automatically. Repeat the same process for the remaining fields, then click Continue.
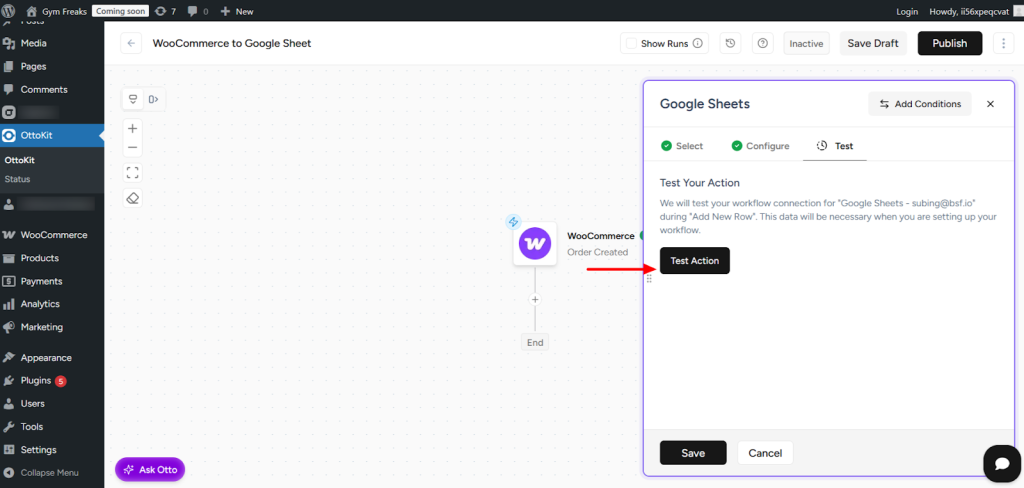
- Click on Test Action.
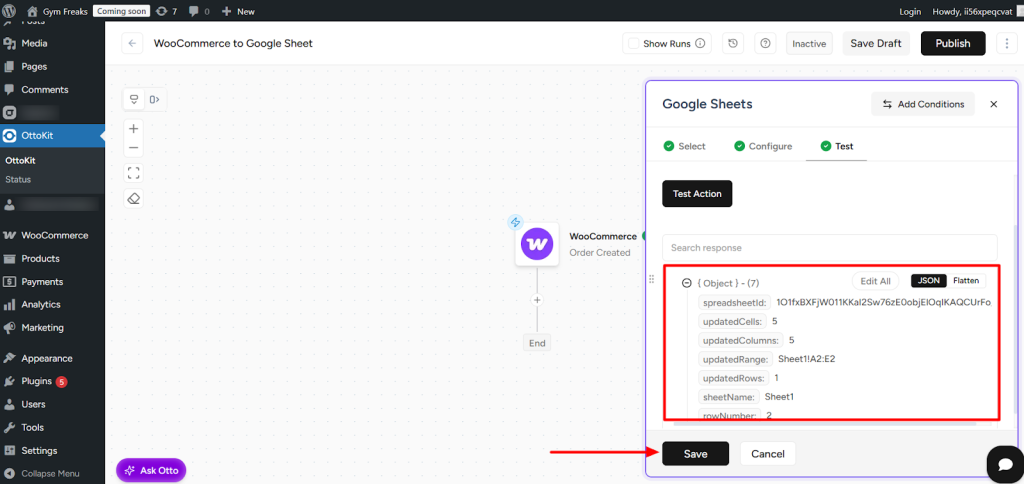
- You will see confirmation that data has been added to your Google Sheet. Once verified, click Save.
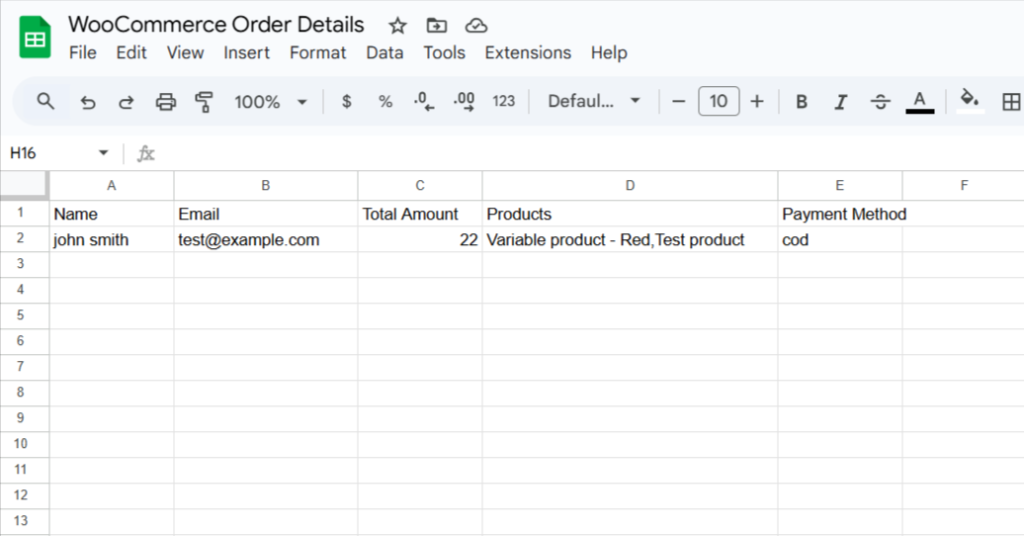
- Check your Google Sheet to confirm that the test data has been added successfully.
- Finally, click on Publish Workflow located at the top-right corner.
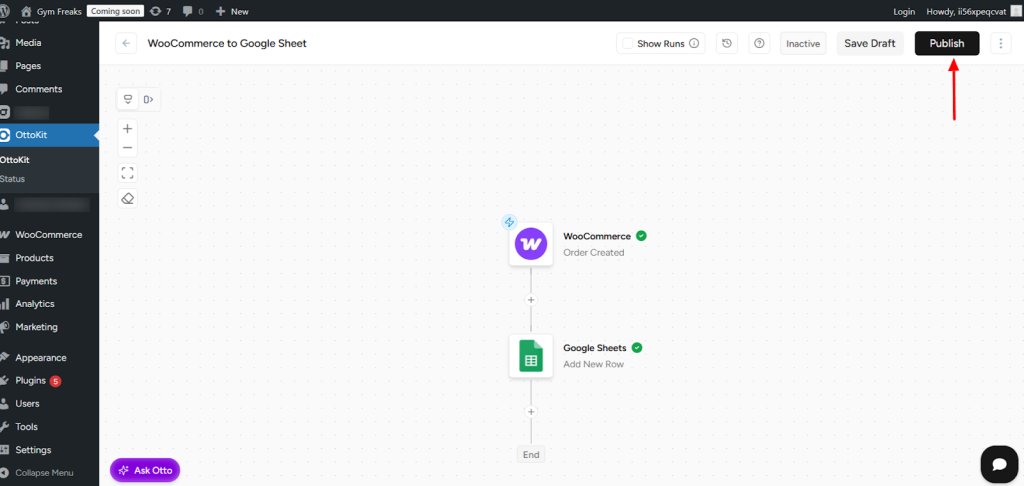
That’s it, your workflow is set up and is now Live.
You can perform a test submission by creating a new WooCommerce order and checking inside the Google Sheet.
Need Help?
If you get stuck, don’t hesitate to reach out to our support team at [email protected]. We will be happy to assist you and ensure that everything works smoothly.
We don't respond to the article feedback, we use it to improve our support content.